Showing posts with label English Paper Piecing. Show all posts

Sunday, December 19, 2021

Island Batik Ambassador's English Paper Piecing Challenge

Island Batik Ambassador's English Paper Piecing Challenge.  I have an EPP project I've been working on with Island Batik fabrics for two years, but it's nowhere close to done.  So what to do?

Then I remembered an EPP kit I bought in Houston a few years ago.  It's called Georgia and is by Courtney Reed.  


This is a fun pattern with lots of interesting shapes.  I went digging in my Island Batik stash and found this fun orange fabric for the big arcs.  Then I picked the rest of the fabrics to coordinate.  Below you can see that to EPP curves you use tape to hold the piece in place while you are sewing.

The pattern recommends sewing the finished pieces to a background around the edge using invisible thread.  I decided to hand sew mine down instead.  I then layered the quilt with some Hobbs fusible batting as I had a scrap piece just the right size!  It was slick because the quilt was so small and because then I didn't have pins in the way when I was marking some lines prior to quilting.

TA DA!  I love how this turned out.  It would be fun to make a quilt with a whole set of them sometime.  


Since the quilt was very symmetrical I had a lot of fun designing the quilting  I started by drawing some registration lines with iron erase marker.  


I started thee quilting by making this big star and then adding matchstick quilting around the outside.


I decided to echo the clamshell shape in outward lines and then filled them with two different patterns.  The echoes were created to add interest and to make sure that you could see the clamshell shape.


I love when the right light comes in to catch beautiful pictures of quilting!


For the background areas I added lots of pebbles.  They do take a little longer to quilt, but they add a totally different texture which I like.


I couldn't resist doing radiating rays inside those little half circles.  I also like how it looks like it extends from the middle.


Project complete!  Sew pretty.  Now where to hang it up?!


I hope you get to quilt today!
Suzy

Saturday, October 26, 2019

Let's Talk Needles for English Paper Piecing

I am a Bohin hand needle girl.  I have plenty, but will be buying more at International Quilt Festival next week anyways!  I need to try new kinds after all.  So today I started stitching my Brimfield Blooming Star.  I decided to try out needles after the first piece was hard to stitch.  The needle didn't seem pointy enough to slide through easily.


This got me wondering why.  So I decided to try out every kind of needle I had in my hand stitching bag.  Turns out there were four kinds:  Applique size 9 (the biggest), Applique size 10, Applique size 12 (the finest), and  size 10 betweens which are much shorter in length.  The size 9 was a bust.  The 10 was better.  I then tried the betweens.  They were nice and sharp, but shorter than I personally like to work with so they weren't for me.  However, if you like short needles they should work well for you. 

Here's the pieces I was sewing together with my favorite Island Batik fabrics of course.


I then tried the size 12 applique needles.  The eye of  the needle is very small, but it went through the fabric like butter, so it's worth a little trouble threading.  I was using 50 weight Aurifil thread in a matching color to hide my stitches.

When sewing this curve I tape the front with painters tape (it removes without leaving any residue) to hold my pieces in place while I stitch.  It works like a charm.


Here's the back side.  You can see that I used a flat back stitch as that's the easiest way to do curves while doing English Paper Piecing.


In summary:  

  • Use tape to hold together curved pieces while you are sewing your EPP with a flat back stitch
  • I prefer size 12 applique needle for making my stitches 
  • I use matching thread to help hide my stitches
I hope you get to quilt today!
Suzy


Thursday, September 19, 2019

International Quilt Festival Houston Auction Piece - Part 1

My friend Kim Brunner was telling me about some paper pieces by Helen Stubbings out of Australia that are made from a product you can LEAVE IN THE PIECE!  I heard about these a year ago and recently I found them in my local quilt shop!  I had to try them!  They're called Hugs and Kisses.  I bought the 1 inch hexies.  


I then designed a pattern using them with some help from my favorite 8 year old.  Next it was into my Island Batik stash to pick some yummy fabrics.


I can't believe how easily these pieces sewed!  And it was so nice not to be hitting paper with the needle!  It was like butter.  SO nice.  I'm sure to use them again sooner rather than later.  


I love this flower.


Look how seamless they look!  And I don't have to remove paper...yay!


Big flower all done.  


This was supposed to be the runner.  Ironically, I didn't like it all together.  It was too long and too busy.  What to do?  Make two projects!


So here's the big star.  I'll be attaching it to some cream background and quilting it for my International Quilt Festival Houston small quilt auction piece.


Stay tuned!

I hope you get to quilt today!
Suzy

Saturday, July 29, 2017

Island Batik Ambassador's July Challenge - Oh Baby!

This month's Island Batik Ambassadors challenge was to make a baby quilt.  I received a wonderful bundle of the Batiks Go Retro Collection by Tamarinis.  I knew right away that the graphic nature of these prints would work fabulously for a Passacaglia quilt.  This is one block of a larger pattern from Millefiori Quilts by Willyne Hammerstein.  My mother made one and I wanted to try it (though I did my English Paper Piecing by Machine rather than by hand.  I ordered pieces double the usual size from paperpieces.com and had a blast using the collecting to make a baby quilt!


 I started with the center star using these great orange shapes.


Then I added some blue pieces for a lot of contrast.


Next I made ten stars.  I fussy cut the purple so they would each have a starburst in the middle.  Because after all, half the fun of paper piecing is fussy cutting fabric!


Then I added diamonds to the stars and formed them into a ring.


Then I assembled the pieces and added the dark blue border.  So much fun!


Then I started quilting it and having fun.  Here's a few final shots of hte quilting.


 I tried using some echoed curls like Angela Walters does, it's not as fluid as hers, but it was fun.


As usual, working with Island Batiks was a blast!


I hope you get to quilt today!
Suzy

Wednesday, March 8, 2017

Quilting my English Paper Piecing by Machine

A while ago I showed you the process of creating this English Paper Pieced quilt.  I started making the Ballet quilt by Willyne Hammerstein from Millefiori Quilts 2.  I had some leftover pieces and decided to make this top.  I love it!  Here's the whole top.


It was the first time I used rulers to create my straight lines (the ring around the outside.  It worked beautifully.  Though I must admit that I did NOT bust out my new ruler foot (I need to find it), so I used my regular free motion foot (Bernina 23) and my trust Add a Quarter ruler for paper piecing.  It worked like a charm and I will definitely do it again.  Though I really do need to find my new foot.  It's in a bag.  Somewhere.  With other quilting stuff in it.  I forsee a weekend task...


Here's the center.  I quilted around motifs and did simple things since there are so many seams and layers in certain places.


And the quilting form the back.


I hope you get to quilt today!
Suzy

Wednesday, February 8, 2017

English Paper Piecing Part 2

Here's the continuation of my last post.  Here's the next layer added.  I had a lot of fun fussy cutting the pieces in the outer turquoise ring so they had two circles each in them.  My fabric looks like Swiss cheese now.


And here's the final round.  Yes, there was supposed to be more and it was going to get bigger, but I decided that it wasn't working quite as well as I'd like since some of the seams were really bulky (think 6 layers of fabric...yikes).  So I decided to quit while I was ahead.  It's still really cute and fun.


Here's the back after I attached it to a piece of blue background fabric.


This is my original drawing.  It uses pieces I had leftover from my Ballet quilt.  Clearly I didn't get as far as I planned, but alls well that ends well.  And it did end well.


I hope you get to quilt today!
Suzy

Saturday, February 4, 2017

English Paper Piecing

I'll admit that I've become a bit addicted to English Paper Piecing.  It's really fun, though I do stitch my pieces together by machine.

Here's one that I've started working on.  The center star all sewn.


Here's the next pieces glued on before the paper is removed.
.

In process removing the paper.


Prepping the next pieces to be added.


Adding another round.


More next time!

I hope you get to quilt today!
Suzy

Saturday, December 31, 2016

English Paper Piecing by Machine

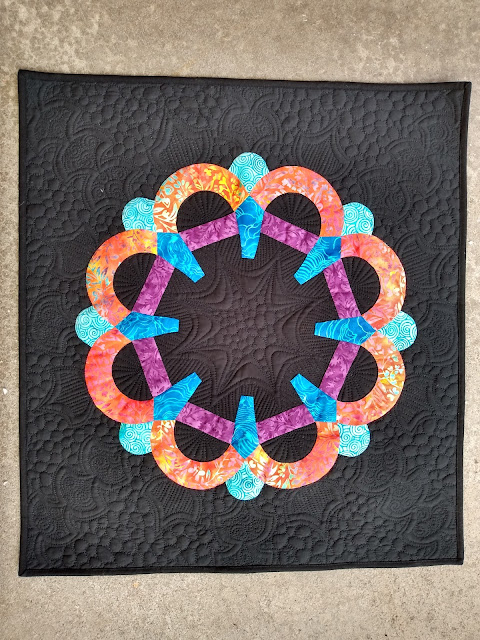
My mother is an amazingly talented quilter.  She finished a Passacaglia paper pieced quilt and it was juried into a special exhibit in Houston last fall.  I was standing there so proud to take her picture by her quilt when I fell in love with one myself.  Uh, oh.

So I decided to attempt my Ballet quilt (from Millefiori Quilts 2 by Willyne Hammerstein) by machine.  Hmm.....no way was I going to hand stitch them all together.

If you follow my blog you know that one of the things I love about it is attempting new things.

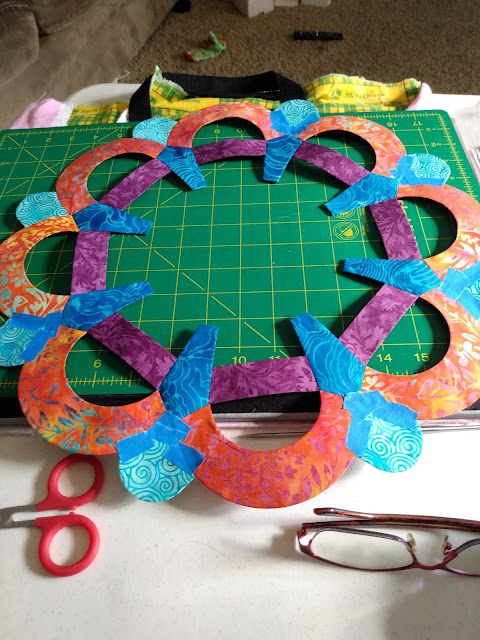
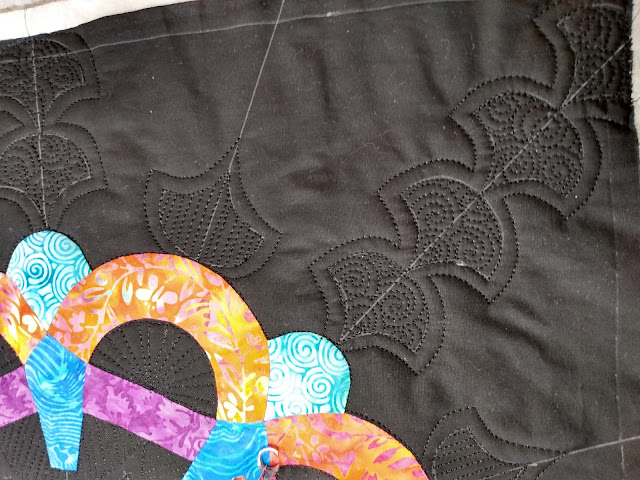
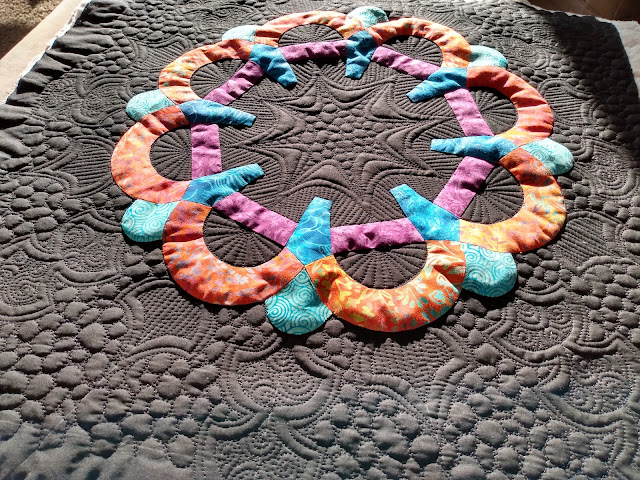
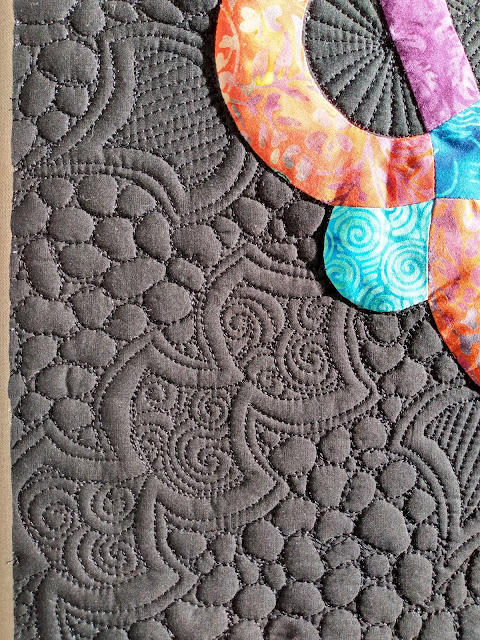
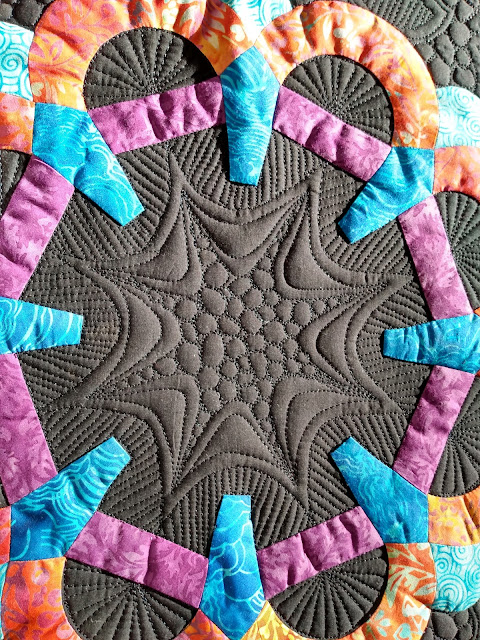
So, I started.  Here are a few photos of my first attempt.  The front looks great.  Pulling the paper that had been stitched through out?  Not so much.  I did decide that a single blanket stitch was the stitch that I wanted to use.


So now to attempt another one.

Here are the steps I used to make my pieces.  
1.  Decide which sides are going to be blanket stitched on.  Glue those to the back of the paper with glue stick.
2.  To get a line marking where the edge is on the other sides, I use a paintbrush to "paint" the seam allowances with starch, then fold them over and iron them dry with an iron.  Yes, this is a very tedious process, but I know exactly where that line is.

Now....putting them together.  Here you can see that back of a ten pointed star.  The only edges I've blued down are the ones that are now on the top that are going to be stitched.  The others have been starched for the line and then opened.  Now I am going to remove those papers before I stitch.  Since I did the starching I have the line where the edge of the piece will be.


Here is the second star I stitched.  The inner edges were stitched while the outer edges were left open and the next layer glued on top.  For example, those orange pieces are turned under towards the yellow, but left open under the purple and the purple is stitched onto the orange.  


Here is the back of the second attempt.  You can see that the yellow is open to sew the orange onto and the orange is open to sew the purple onto.  Sometimes I really had to think about what edges should be turned under.


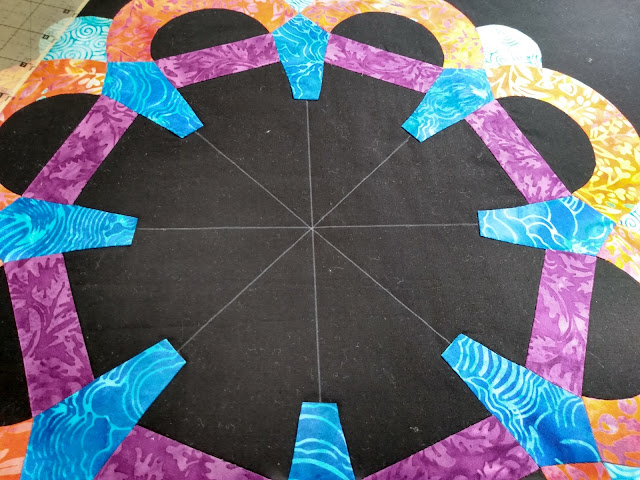
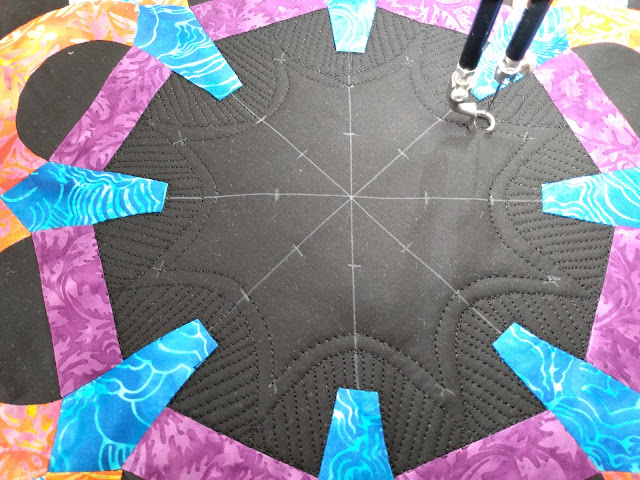
Here is another picture where I've sewn the center star and laid the lime green pieces on top,  I then glued them down, pulled out the papers behind the lime green and then did a blanket stitch all the way around the edge.


Here is another picture of a star I've sewn together.  I used a 50 weight cotton Aurifil thread and you can barely see it.  My blanket stitch is about 1.5 by 1.5 mm.


I hope that makes sense!  Let me know if you have questions.

And I hope you get to quilt today!
Suzy