Monday, January 31, 2022

Island Batik Ambassador's Step by Step Challenge Part 2

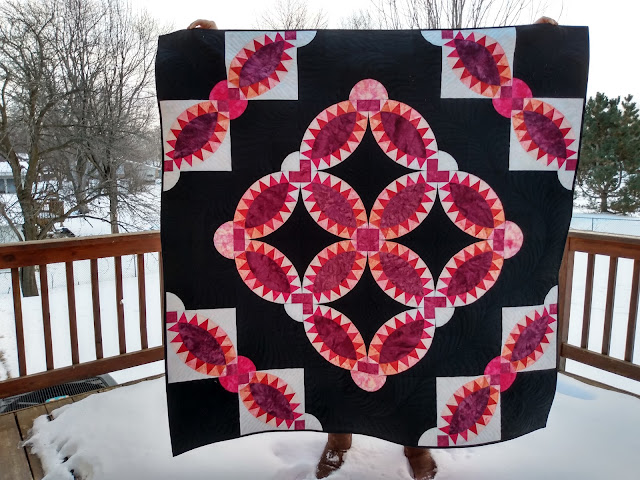
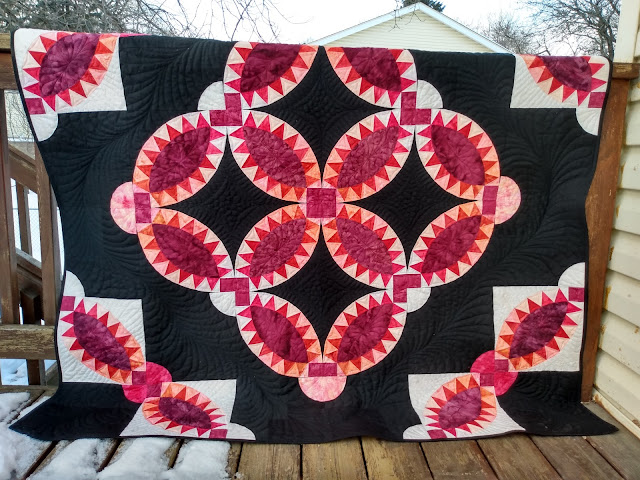
Yesterday I showed you my quilt made from the scraps from my original idea for using the gorgeous Island Batik Ravishing Reds gradation.  I finally got the binding on the first quilt so now I can share it with you!  

When I was trying to decide what block to use my gradations in I immediately thought of my Pickle Dish Accuquilt Die.  It has 15 pieces in the arc which made it easy to incorporate a lot of colors.


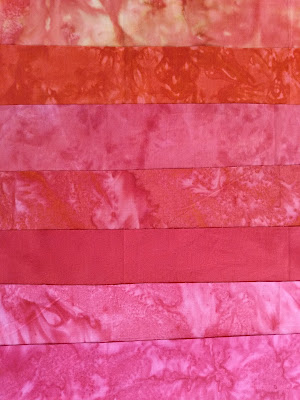
I started by laying out sets of fabrics for the interior and exterior triangles.  


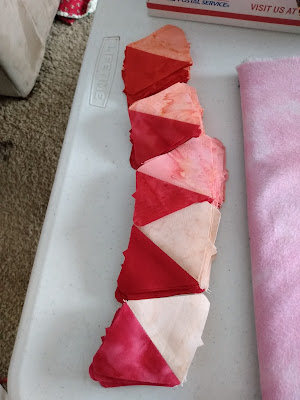
Then I cut a LOT of pieces and had fun starting to sew the arcs together.  I had to be really careful not to get the pieces out of order.


I also decided to put in some drunkards path blocks for interest and to add something different to the quilt to make it my own.  I have sewn curves before, but I feel like this time I really got the hang of it.  I have much more confidence in myself.
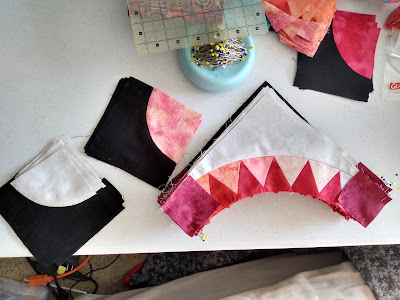

I ran into a challenge on the inside orange peel shapes.  I had fat quarters of all the fabrics and now matter how I laid it out I could only get seven shapes from the fabric.  What to do?  I pieced one.  That was the only way.


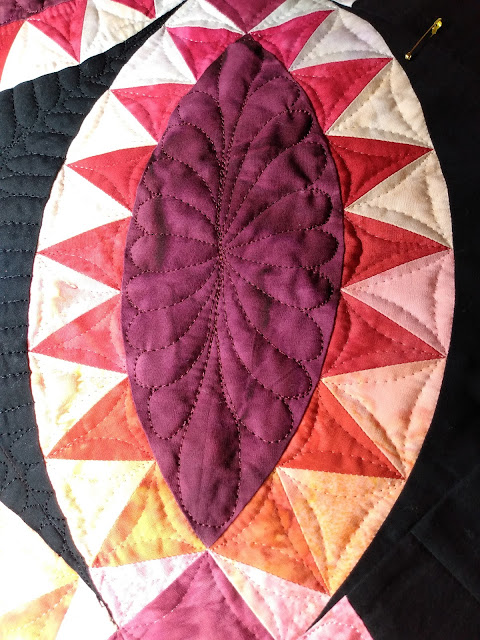
Now it was time to quilt!  I used Aurifil Invisible thread to stitch continuous curve in all the arcs.  It flowed quite smoothly through my Schmetz Microtex needles.  I really didn't want to have to switch colors all the time and it worked excellently.  In the orange peels I quilted a simple feather.  I thought about using Hobbs Black 80/20 batting in this quilt, but decided against it because there were a lot of light fabrics so I used regular Hobbs 80/20 batting, my favorite.

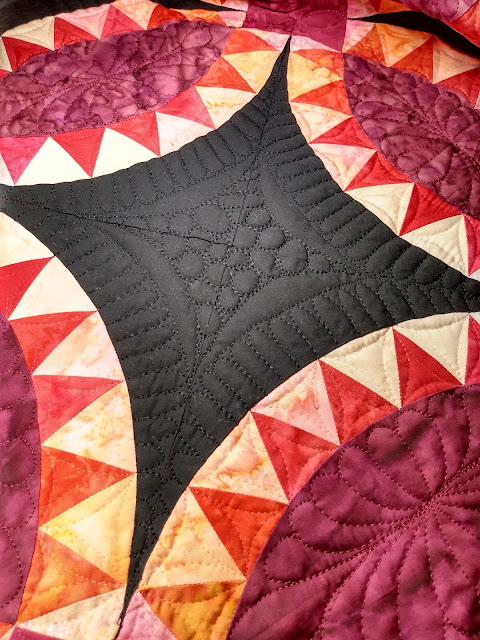
In the center of the quilt are four curvy areas, I decided to add some interest by diving it into separate areas as shown.  I did some pebbles in the center and arches at the edges.

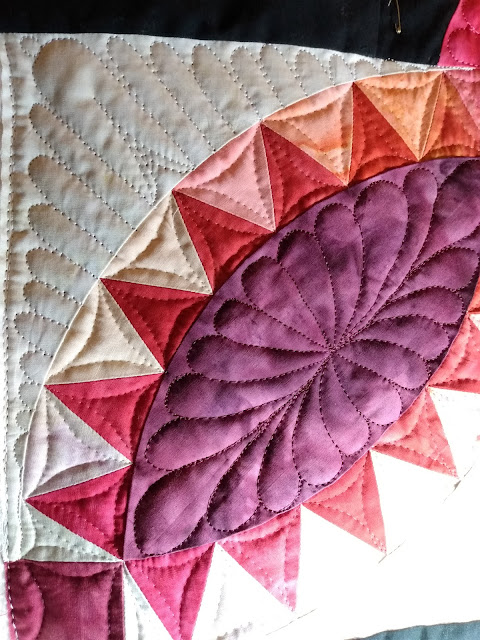
In the white areas I wanted to mimic the arches of the interior black areas.  I made four arches for each piece which made them easy to space out.  I also did something in the center arc to add interest.

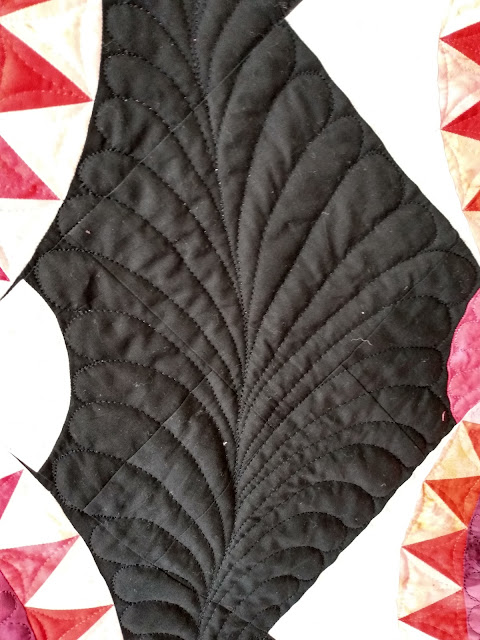
The outer black ring left me stumped for a while.  I finally decided to go simple and do a wide feather to fill all the space.

I'm REALLY happy with how this turned out.  Ironically...this is the second pickle dish quilt I've made.  The first isn't done yet...haven't we heard this story before?  LOL.  My pile of quilts layered and waiting for quilting is exploding of late.  I have a few to keep me busy. Or a dozen.

I hope you get to quilt today!

Suzy


Sunday, January 30, 2022

Island Batik Ambassador's Step by Step Challenge

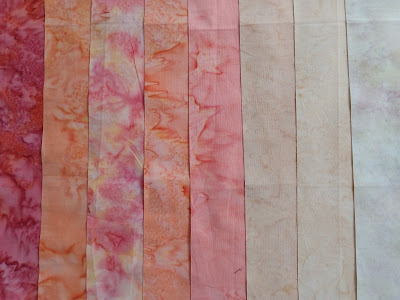
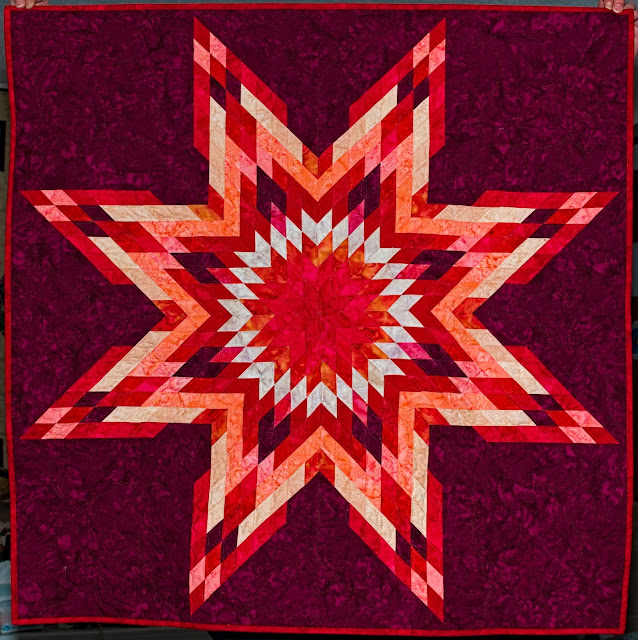
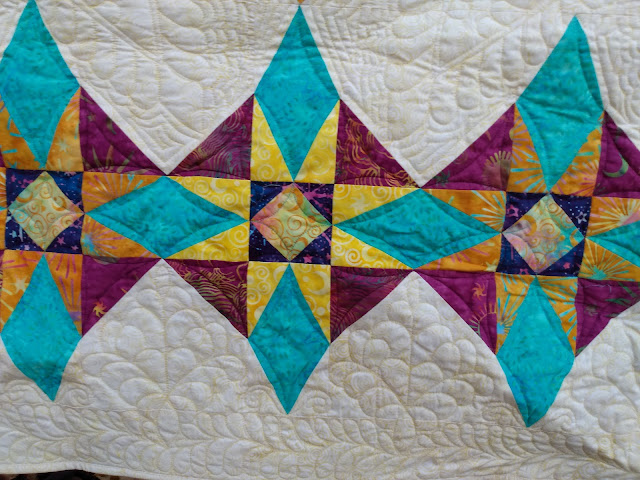
I love Island Batik fabrics.  I was so excited to get a gorgeous Ravishing Red gradation bundle in my first 2022 Ambassador Box!  Here's the ironic part....this is the leftover quilt.  Yes, you read that right.  I took my remaining scraps and used my AccuQuilt Prairie Star die to cut diamonds that finish at 1" across.  So naturally you ask...what happened to the first quilt?  It's not quite done yet.  WHY?  Well, I went on quilt retreat and I had the thread to quilt this one with me, but I didn't have the thread for the first quilt along.  So this one got done first.  Don't worry, the first quilt will be revealed tomorrow (as soon as I get the binding on!)

Despite all of that I am totally in love with this quilt!


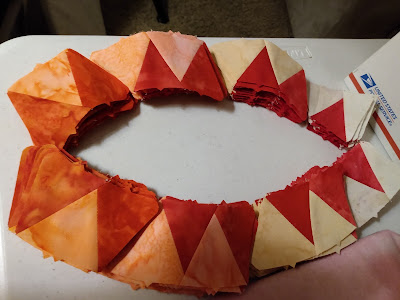
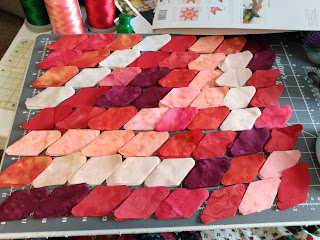
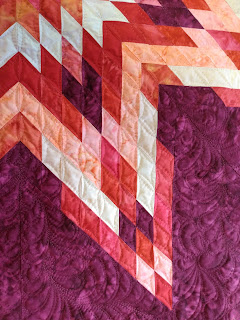
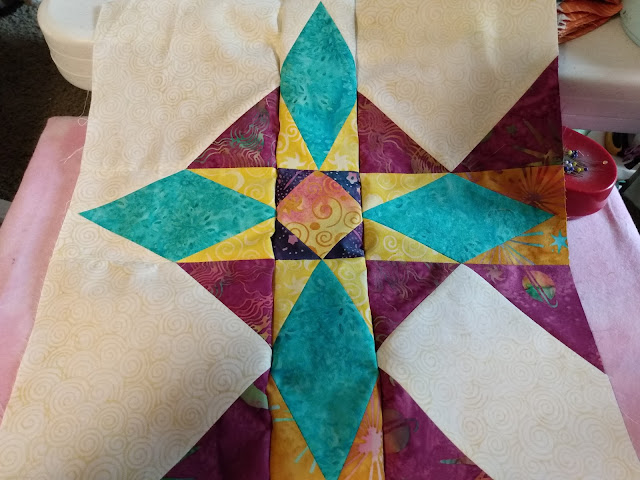
Here is my stacks of fabrics being laid out for sewing my lone star.  I was very careful to make sure I was pinning them in the right way since I only had my scraps.  I didn't have quite enough fabric to make an 8 by 8 unit star point, so I cut some out of the background fabric (Mahogany) to fill in the gaps.  I have seen a few lone stars over the years that break traditional rounds.  I decided that's what I wanted to do with mine. 


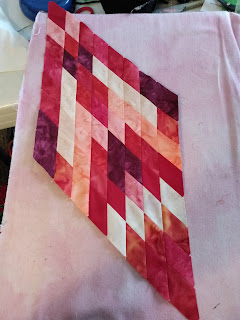
Here is one star point completed.  


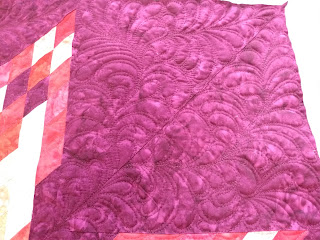
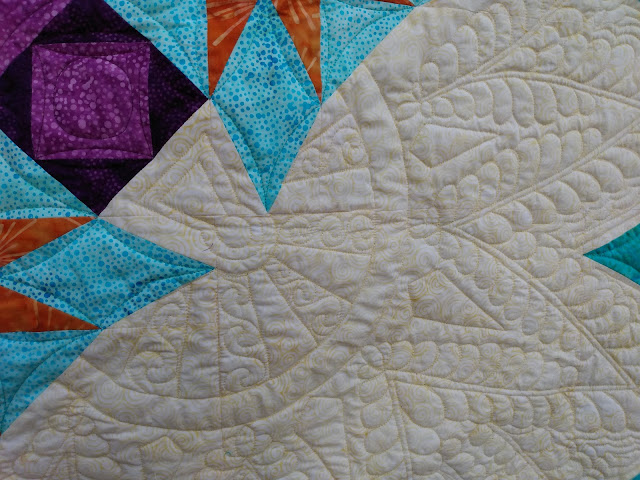
I had fun quilting feathers in the large background areas.  I used Hobbs 80/20 Cotton/Poly blend in this quilt which is my favorite batting.  I love how it gives my feathers a little puff.


I simply did continuous curve inside all the diamonds.  I didn't want to have to switch color all the time so I used Aurifil Invisible thread which worked excellently with my Schmetz Microtex needles.  I don't like to use invisible thread in the bobbin so I used a cream Aurifil 50 weight.  I was very pleased with how smoothly the stitching with the invisible thread went and it was a relief not to have to change colors tons.


I didn't have much background fabric left so I found a red Island Batik in my stash to use as the binding.

I hope you get to quilt today!

Suzy

Friday, January 28, 2022

Island Batik Ambassador's 2022 Box 1 Reveal!

 I am excited to be an Island Batik Ambassador for a 7th year!  It's so much fun!  Here is a link to the video I made with all the amazing products from Island Batik and Hobbs Batting.


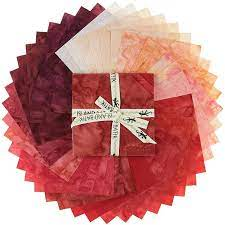
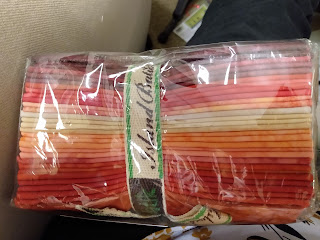
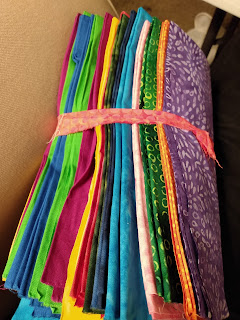
Gradations!  I received Ravishing Reds


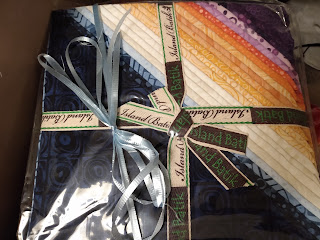
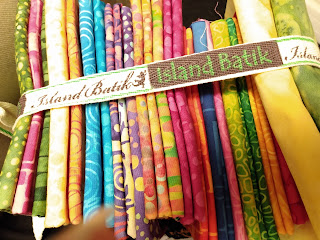
A gorgeous precut.  I can't wait to play with the Peaches!


Foundations basics to go with my projects.


Contempo!  SO gorgeous.


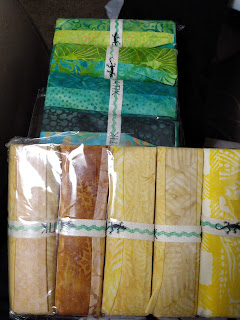
Stashbuider rolls in yellow and green.


I also received four fabulous battings from Hobbs (which I forgot to take a picture of!)

I hope you get to quilt today!
Suzy


Sunday, December 19, 2021

Island Batik Ambassador's English Paper Piecing Challenge

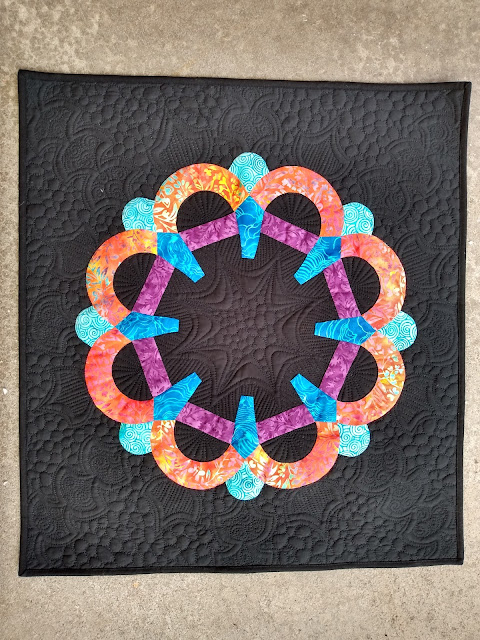
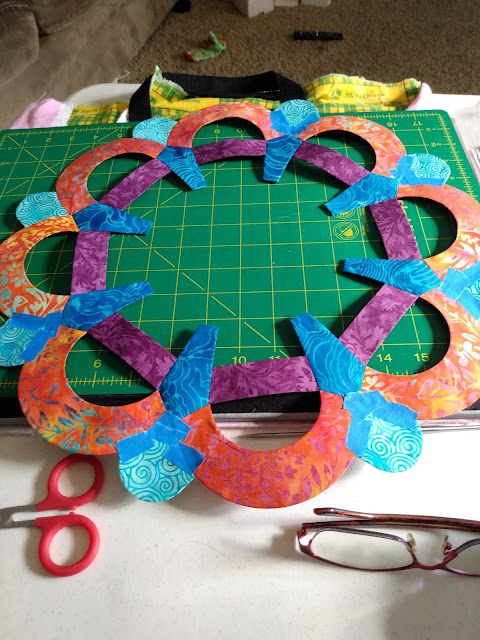
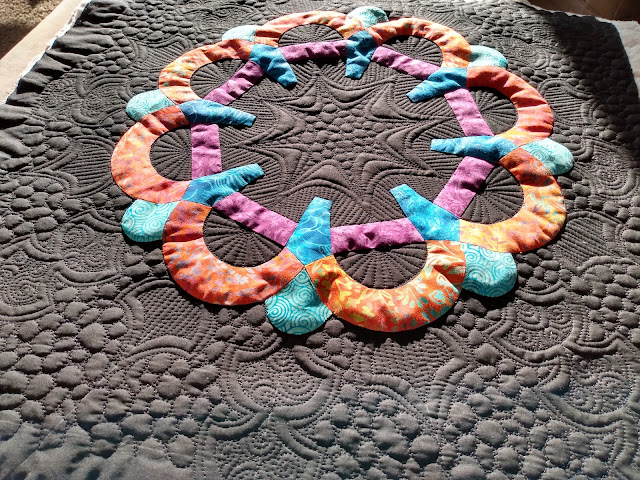
Island Batik Ambassador's English Paper Piecing Challenge.  I have an EPP project I've been working on with Island Batik fabrics for two years, but it's nowhere close to done.  So what to do?

Then I remembered an EPP kit I bought in Houston a few years ago.  It's called Georgia and is by Courtney Reed.  


This is a fun pattern with lots of interesting shapes.  I went digging in my Island Batik stash and found this fun orange fabric for the big arcs.  Then I picked the rest of the fabrics to coordinate.  Below you can see that to EPP curves you use tape to hold the piece in place while you are sewing.

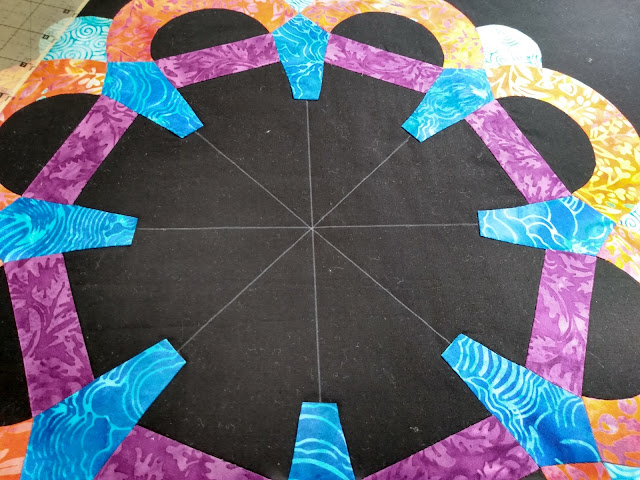
The pattern recommends sewing the finished pieces to a background around the edge using invisible thread.  I decided to hand sew mine down instead.  I then layered the quilt with some Hobbs fusible batting as I had a scrap piece just the right size!  It was slick because the quilt was so small and because then I didn't have pins in the way when I was marking some lines prior to quilting.

TA DA!  I love how this turned out.  It would be fun to make a quilt with a whole set of them sometime.  


Since the quilt was very symmetrical I had a lot of fun designing the quilting  I started by drawing some registration lines with iron erase marker.  


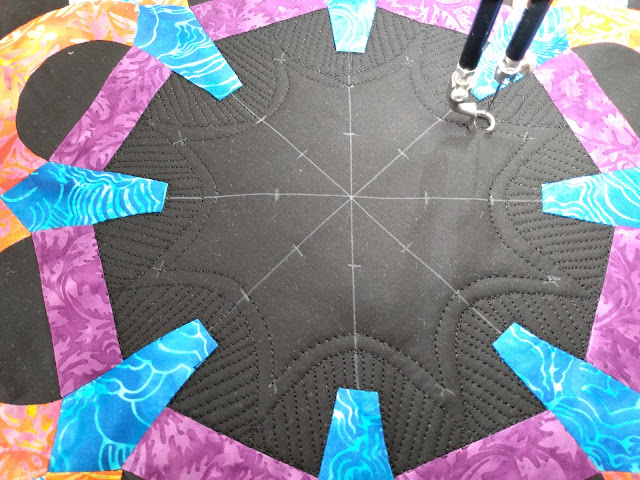
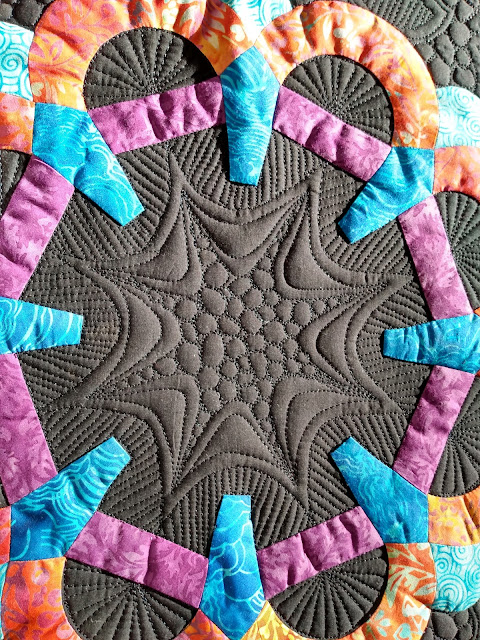
I started thee quilting by making this big star and then adding matchstick quilting around the outside.


I decided to echo the clamshell shape in outward lines and then filled them with two different patterns.  The echoes were created to add interest and to make sure that you could see the clamshell shape.


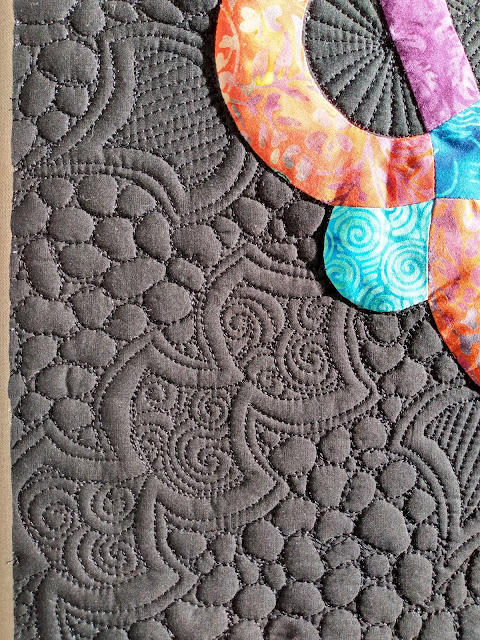
I love when the right light comes in to catch beautiful pictures of quilting!


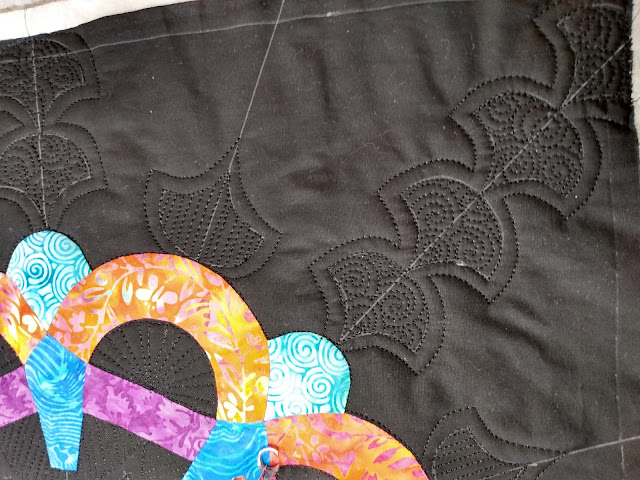
For the background areas I added lots of pebbles.  They do take a little longer to quilt, but they add a totally different texture which I like.


I couldn't resist doing radiating rays inside those little half circles.  I also like how it looks like it extends from the middle.


Project complete!  Sew pretty.  Now where to hang it up?!


I hope you get to quilt today!
Suzy
Wednesday, November 17, 2021

Island Batik Ambassador's Storm at Sea Blog Hop

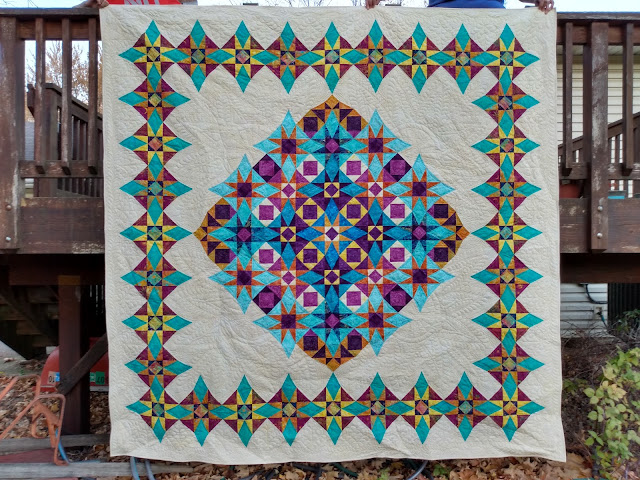
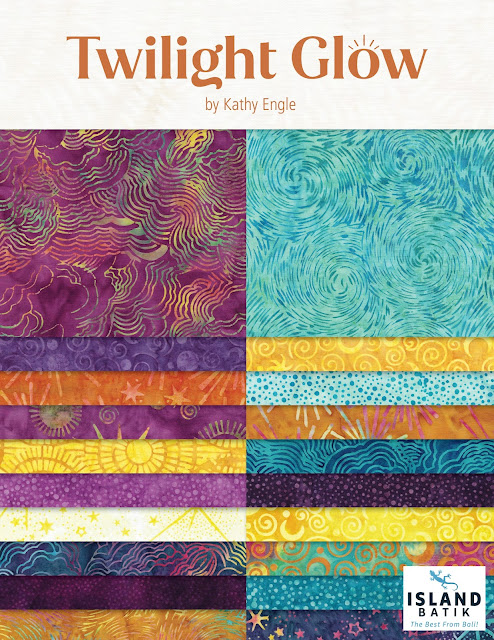
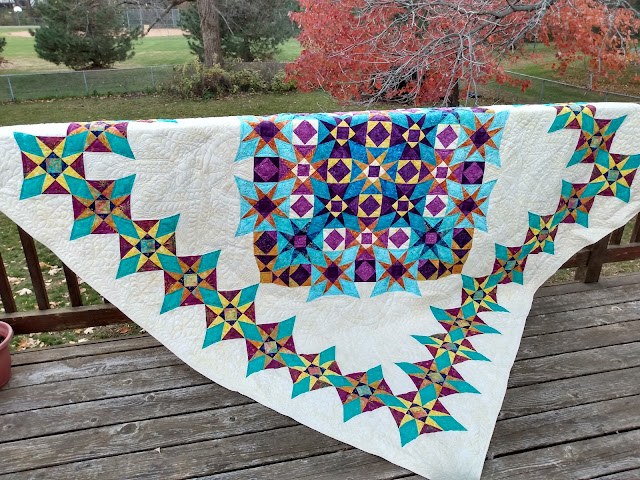
I have been an Island Batik Ambassador for six years.  This collection, Twilight Glow, is by far my FAVORITE I have ever received.  And that is saying something!  I was so excited to work with this collection I designed a QUEEN sized quilt.  That is totally rare for me.  It's only my second as an ambassador.  There may have been some squealing going on at my house when I unwrapped this collection.


Kathy Engle, the main designer at Island Batik hit it out of the park with this collection!  SO PRETTY.


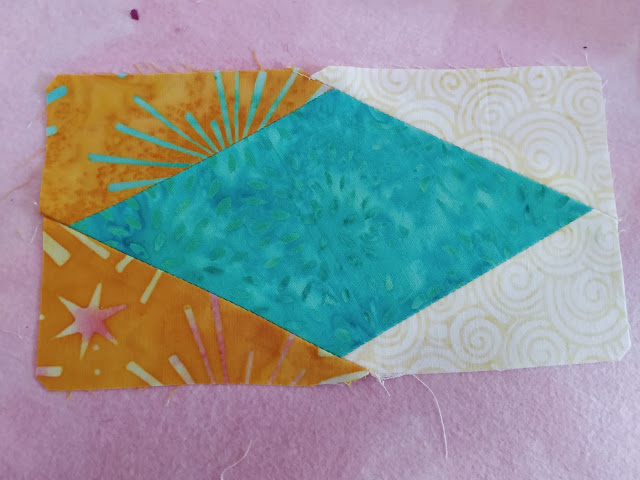
In the past I made one storm at sea block. One. So many pieces.  So I knew right away that I wanted to use the Accuquilt Storm at Sea Block on Board for this one.  I also used my 6 inch Qube to make the square in a square blocks for the corner stones of the design in order to simplify it a bit.  I also used my favorite Aurifil threads for piecing and Schmetz Microtex Needles in my machine.  They make quick work of going through batik fabric.


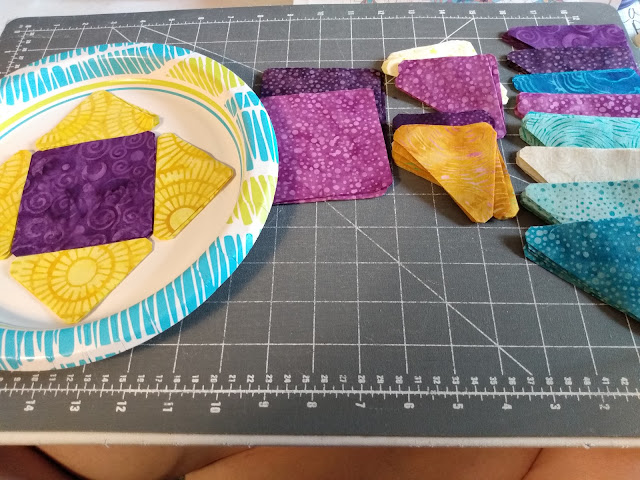
When playing with 20 different fabrics and fitting all of them into the quilt it's important to keep track of what you're doing.  I used the plate method where I laid out each block and sewed 3-4 at a time so I didn't mess up the pieces that needed to be together.  


This is the corner of the border.  I didn't have enough of either the yellow or cheddar prints to make the whole borer from one fabric.  So I decided to alternate star colors.  I think this decision actually adds to the end result.  Here are the pieces all laid out ready to sew.


And now here they are all sewn together and ready to be ironed.  For every single seam in this quilt I presseed the seams open.  There were just so many fabrics coming together at certain points it seamed easiest.  It does take a long time, but the end result was worth it.


Now it was time for the quilt to be quilted.  It's almost 90 inches square.  As much as I wanted to quilt it myself with being a full time first grade teacher I knew I needed some help.  So I admitted it would be challenging for me to get done and asked my mom if she would quilt it on her long arm.  Yes, I paid her.  And she did a fabulous job!  We put one layer of Hobbs 80/20 cotton/poly blend inside the quilt and it shows all the quilting fantastically.  All I said was I wanted some fun design in the large cream areas and feathers.  Check out all her beautiful work!


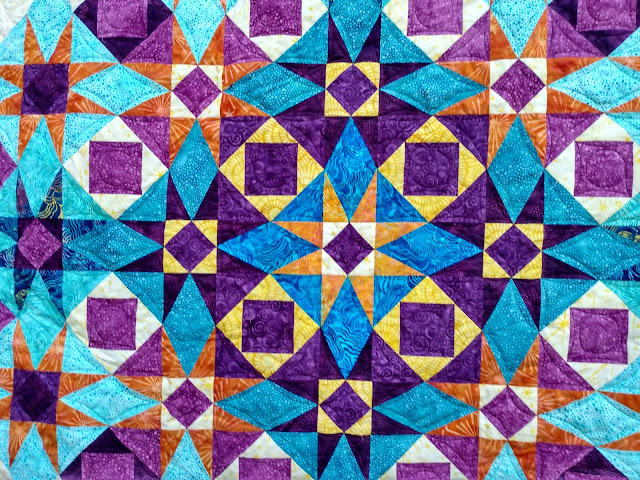
I love the border on this quilt.  Such fun.  I also loved playing with the fabrics in the center and making them radiate out.  I purposely used the darkest blue in the center and then worked my way lighter as I went outwards.


I can't wait to put this one on my bed!

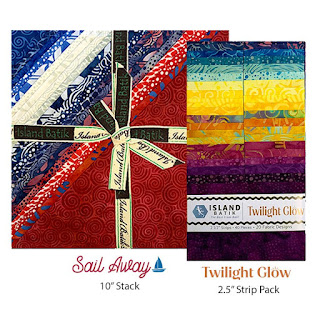
Island Batik is giving away two gorgeous new precuts!  Sail Away and Twilight Glow.  Enter with the rafflecopter link: a Rafflecopter giveaway
Also, be sure to check out all the other amazing quilts on the Storm at Sea blog hop!  I've been truly impressed with all the different takes on this pattern that my fellow ambassadors have created!

I hope you get to quilt today!
Suzy

Gail Sheppard, Quilting Gail

Preeti Harris, Sew Preeti Quilts

Pamela Boatright, Pamela Quilts

Jane Hauprich, Stitch by Stitch Custom Quilting

Denise Looney, For the Love of Geese

Megan Best, Bestquilter

Gail Renna, Quilt Haven Threads

Claudia Porter, Create with Claudia

Mania Hatzioannidi, Mania for Quilts

Jennifer Fulton, Inquiring Quilter

Joanne Hart, Unicorn Harts

Connie Kauffman, Kauffman Designs

Jennifer Eubank, Archipelago Quilting

Jennifer Thomas, Curlicue Creations

Janet Yamamoto, Whispers of Yore

Emily Leachman, The Darling Dogwood

Maryellen McAuliffe, Mary Mack Made Mine

Elizabeth DeCroos, Epida Studio

Andi Stanfield, True Blue Quilts

Brianna Roberts, Sew Cute and Quirky

Michelle Roberts, Creative Blonde

Sally Manke, Sally Manke Fiber Artist

Leah Malasky, Quilted Delights

Suzy Webster, Websterquilt